
Celebrate Pi(e) Day with this delicious Cheesy Bacon Pie from Catastrophe Kitchen and be sure to double your pie pleasure with this French silk pie for dessert!
Cheesy Bacon Pie
Cheesy. Bacon. Pie. There are very few people who hate any of those words. Pair them with a creamy egg custard and a crisp pastry crust and it’s heaven. HEAVEN, I tell you! It’s also super easy and requires only a few moments of active cooking, so you can throw it together and take a shower and clean up the mess from last night and drink some coffee before you have people over for brunch, and they will think you are Martha Freaking Stewart. You will fool them ALL! Mwahahahahaaaa.
This is the most versatile recipe EVER. You can substitute the bacon for any meat of your choosing (ham, sausage, chorizo, crab, etc.), you can sub in any kind of cheese (blue cheese might be weird but hey, don’t let anybody steal your shine, you crazy diamond), and even the onion (leeks, yellow, white). You can add asparagus, or roasted red peppers, or mushrooms, or whatever. There are umpteen variations, but this is my go-to classic.
My kid will not eat quiche. But this is not quiche. It is Cheesy Bacon Pie. And he loves it.
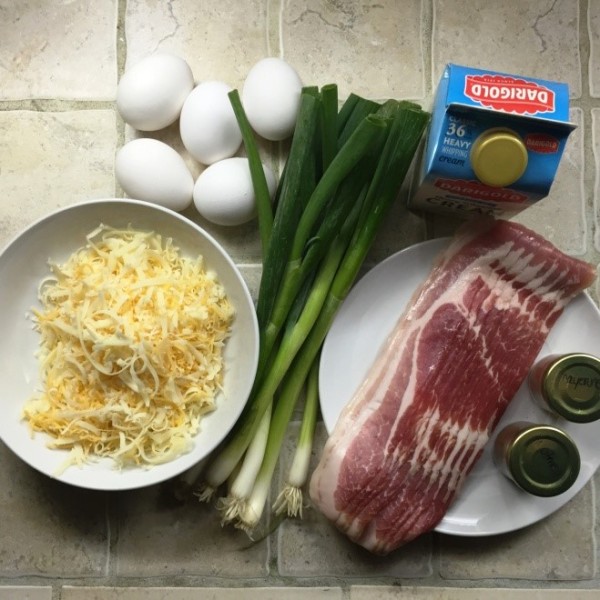
You will need:
- One pie crust, homemade or store-bought (I use the one here)
- 10 strips/12 oz. bacon
- 4 oz. shredded cheese (I used Swiss)
- 4-5 green onions or half a yellow onion, chopped
- 5 jumbo or 6 large eggs
- 2 cups cream
- 1 tsp nutmeg
- 1/4 tsp cayenne
- 1 tsp Kosher salt
- a few grinds of pepper
Heat the oven to 425F.
Start with your pie dough– if you’ve used the recipe I linked, you need LOTS OF FLOUR. Roll it out, then flop it loosely in half and in half again, so it is a triangle. Get out a 9″ pie pan, glass if you have it (the bottom crisps WAY better in glass). Put the point of the triangle in the center of the pie pan and unfold it. Your goal is to NOT stretch the dough, but to just kind of drape it into the pan. Crimp the edge or fork it or just fold it (this isn’t a State Dinner) and put it in the fridge.


Lay your bacon out on a sheet pan (you can use racks but it’s not necessary) and when the oven heats to 400F put the pan in. When you can start smelling it (10 min or so) pull it out and flip the bacon with tongs or a fork. Put it back in until it is crispy. Your nose will remind you to check it, but you can set a timer for 10 minutes and check it again then. The second photo is when I flipped mine.


Meanwhile, you can shred your cheese if you need to (pre-shredded is totally fine) and cut your onions. This is not rocket science, and if you’re anything like me, you’re still sleepy and on your first cup of coffee. Let’s not complicate things. I used half Swiss and half shredded Colby cheese because that’s what I had. Crack the eggs into a bowl and add the cream and spices (including pepper and salt) before giving it a good whisk.
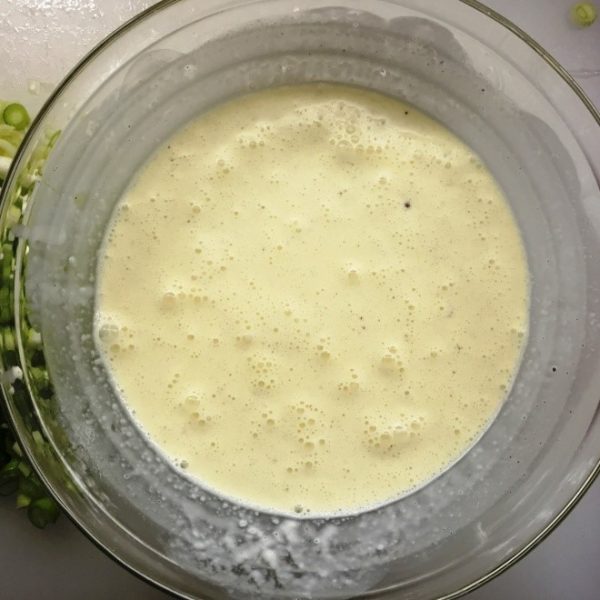
Wow, that photo is boring. TRUST ME, this pie is anything but boring. Here, have some bacon.

When the bacon is crispy, pull it out of the oven and transfer to a paper towel to soak up some of the extra grease. Roughly chop the bacon. Pour the bacon fat into a glass jar or ramekin. DON’T toss it! You can put it in your fridge and use it for up to six months for anything from scrambled eggs to my personal favorite, potato hash. Bacon fat is like the poor man’s duck fat. I imagine. I mean, I have never had duck fat. But bacon fat is really, really good.
MOVING ON…
Pull your pie crust out of the fridge and layer in half the cheese, half the onions (get all the white parts in this one), and half the bacon. Reserving a tiny bit of all three to throw on top, layer the rest of the ingredients again. Pour the egg mixture into the pie and throw the reserved few teaspoons of filling on top so people will know what’s inside.

Put it on the middle rack of the oven and set your timer for 15 minutes. I put a sheet pan on the bottom rack under the pie pan when I put it in the oven in case there are spills. Egg spills are the worst; trust me, I learned the hard way.

GET TO CLEANIN’. You’ll have time for the shower in a minute. When your timer beeps, you should be almost all cleaned up. Turn the oven down to 325F and set the timer for 40 minutes. NOW go shower, you Saturday morning mess.
When the timer beeps, check your pie. It shouldn’t jiggle much; if it does, it’s likely underdone. Keep it in another 10-20 minutes, checking every 5 minutes or so to make sure it’s not getting too brown. Lightly toasted spots is fine, but it should be yellow on top, not brown. If you’re unsure, stick a knife in the middle. It should come out relatively free of liquid. If it’s drippy, it needs more time.
I did not test mine, so after I’d let it sit 15 minutes, I cut into it only to discover it was still soupy in the middle. LOVELY. But I just re-heated the oven and put it back; it set up in another 10 minutes or so. No one even knew! Crisis AVERTED.
Pull your pie out when it’s ready and let it cool 15 minutes on a rack. Serve or refrigerate until ready to eat. I like to heat it up a bit, but you can eat it cold if that floats your boat. I would tell you that this keeps for 3-4 days in the fridge, but there is no way it will last that long. It will probably be gone tomorrow. But it’s so easy you could make it again! With whatever’s in your fridge! Whenever you want!

You’re welcome.


Leave a Reply